
This is the recommended installation method for our Kelkoo Sales Tracking tag, if you use GTM.
Video Tutorial
The merchant can refer to our Video tutorial on how to install Kelkoo Sales Tracking using GTM using the link: How to Install KST using GTM
Step 1: Identifying data Layer variables passed
-
1.1 Launch the preview mode from GTM dashboard.
-
1.2 On the next tab with title "tag assistant" put the URL of the website and press continue. NB! The URL should refer to the website with the relevant GTM container codes.
-
1.3. The above operation should lead into opening a new tab with the website and the status in the tag assistant tab should say "Connected".
-
1.4. Now, make a test sale from the website launched in step 1.3.
-
1.5. Once a test sale is made, go back to the "tag assistant" tab and from the left side panel, where all events are listed, find the "Thank you page" event.
-
1.6. Under the thank you page event, try to find an event relevant to the sale or purchase event on your website.
-
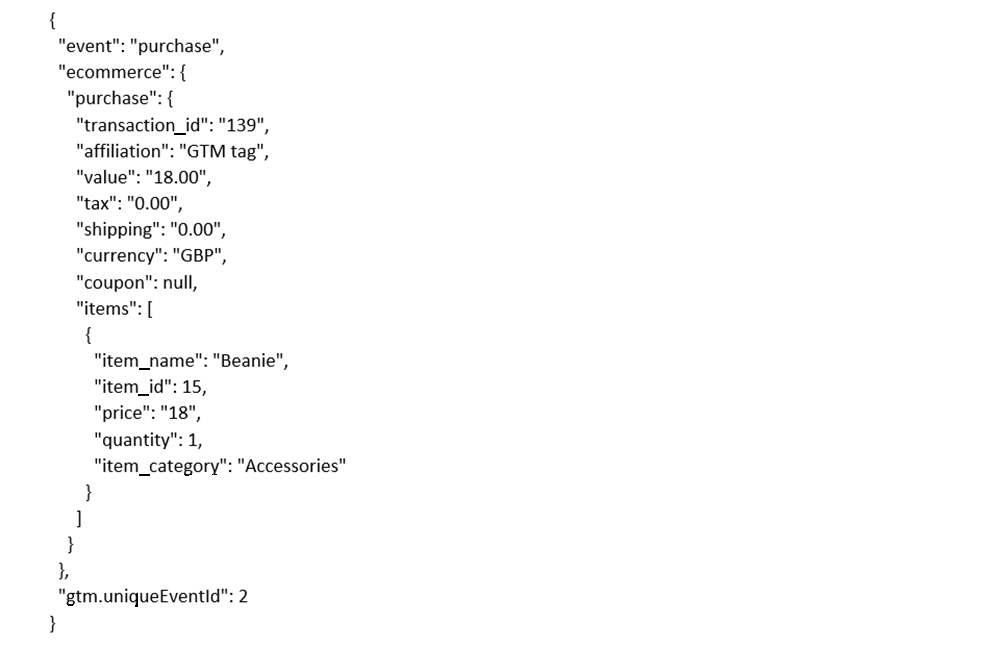
1.7. Now, from the "dataLayer" tab located at the centre, which looks like this:
-
Note the followings:
-
Event, Order Id and Order value
-
For example, from above we have:
-
Event = purchase
-
Order Id = ecommerce.purchase.transaction_id
-
Order value = ecommerce.purchase.value
-
-
-
-
NB! VARIABLES DIFFER FROM SITE TO SITE. ALSO, IF A SIMILAR CODE IS NOT VISIBLE ON THE DATALAYER TAB, PLEASE ASK YOUR SHOP SOLUTION PROVIDER FOR ENHANCED ECOMMERCE FOR GTM OR ALTERNATIVELY TRY TO FIND A PLUGIN THAT ENABLES THE ENHANCED ECOMMERCE FOR GTM.
Step 2: Introducing GTM user defined variables
-
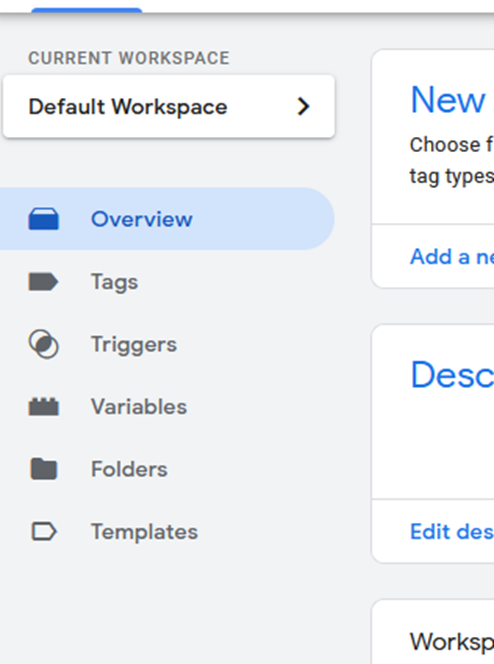
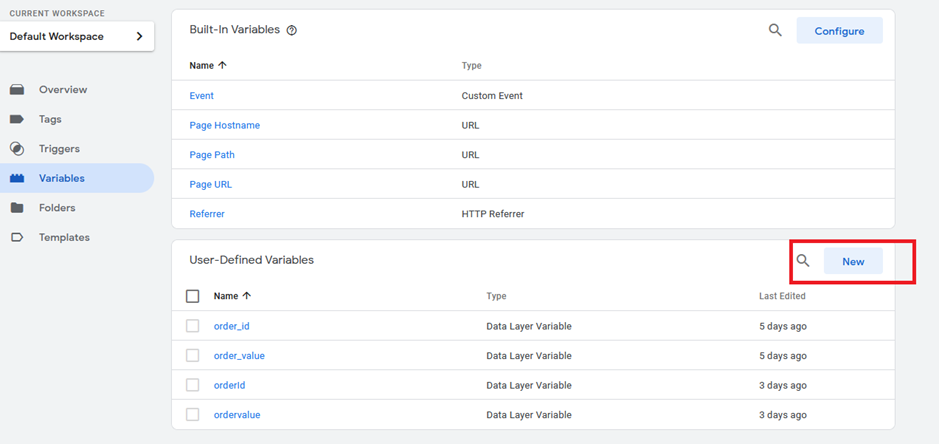
2.1 Go to the "variables" tab in the GTM dashboard
-
2.2 Now, from the menu at the centre-bottom click new:
-
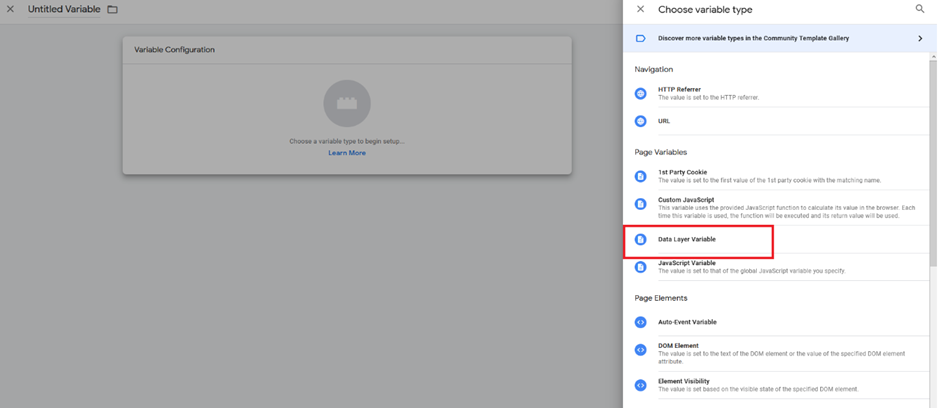
2.3 Now, click on the "pen" button to open a side menu and select "Data Layer Variable"
-
2.4 Now, under the value tab put the value for order id noted in step 1.7 and save:
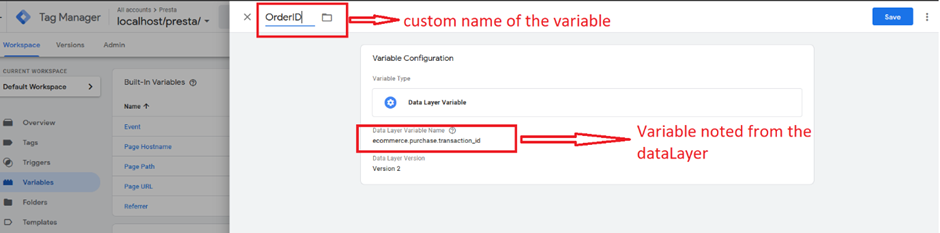
-
2.5 repeat the step 2.4 for order value.
NB! PLEASE PAY ATTENTION AT STEP 2.4 & 2.5
Step 3: Making a custom event for conversion code.
-
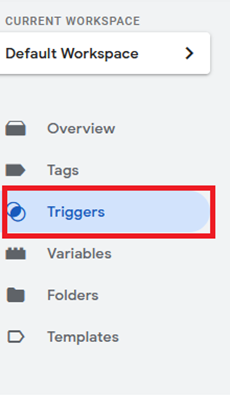
3.1 From the left side menu click on "triggers"
-
3.2 Now click on the "New" button from the centre menu and click on the "pen" button.

-
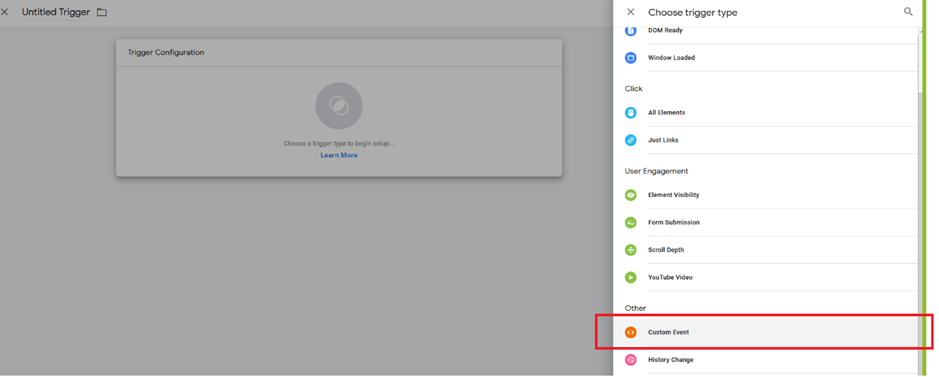
3.3 Select "Custom Event"
-
3.4 Now, configure the event trigger as the screenshot below with the event name noted in step 1.7.
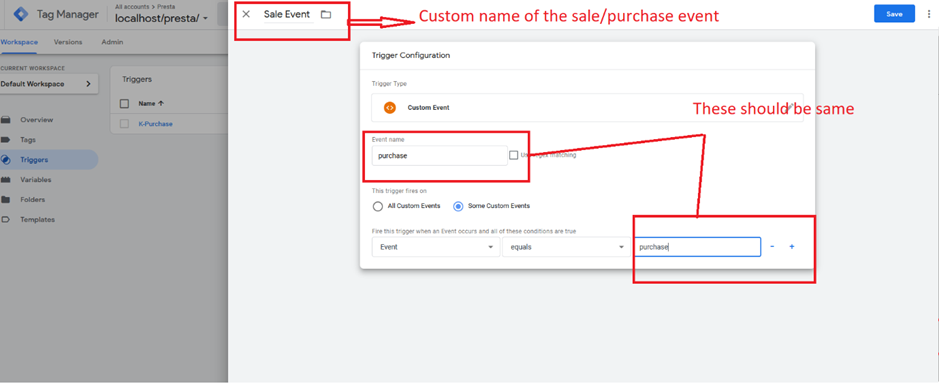
-
3.5 Save the trigger.
Step 4: Installing Kelkoo Conversion Tag
-
4.1. On the Templates tab, click on the button Search Gallery of the block Tag Templates
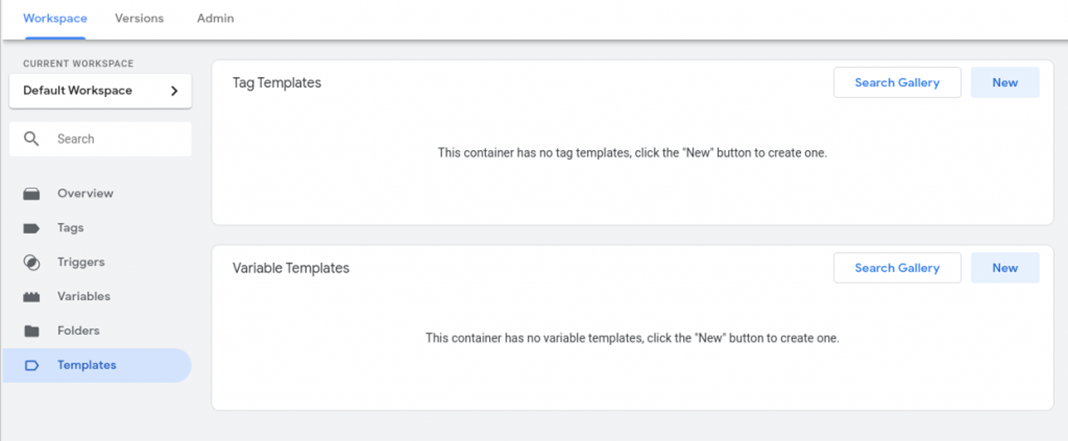
-
4.2. Search for the Kelkoo Group Sales Tracking Tag, select it, and in the Template Details click to the button Add to workspace
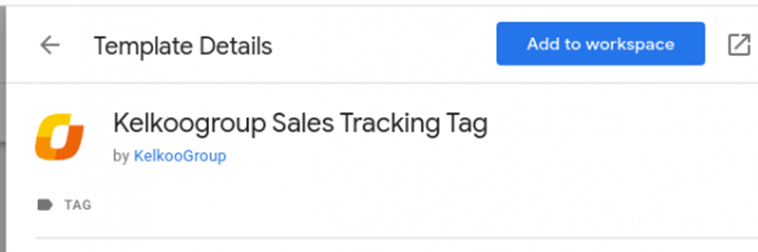
-
4.3. Add a new tag, search for the Kelkoo Group Sales Tracking Tag custom template and select it
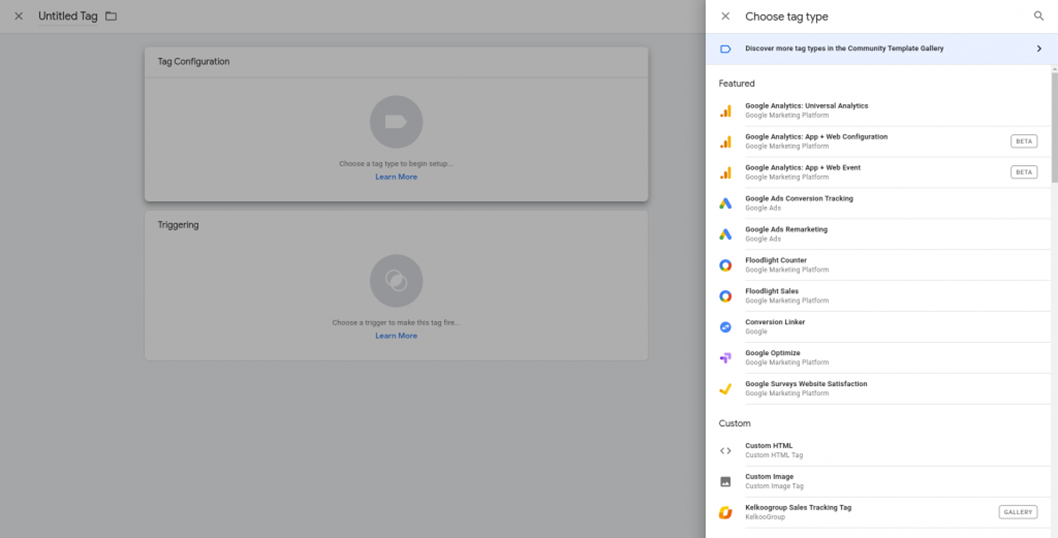
-
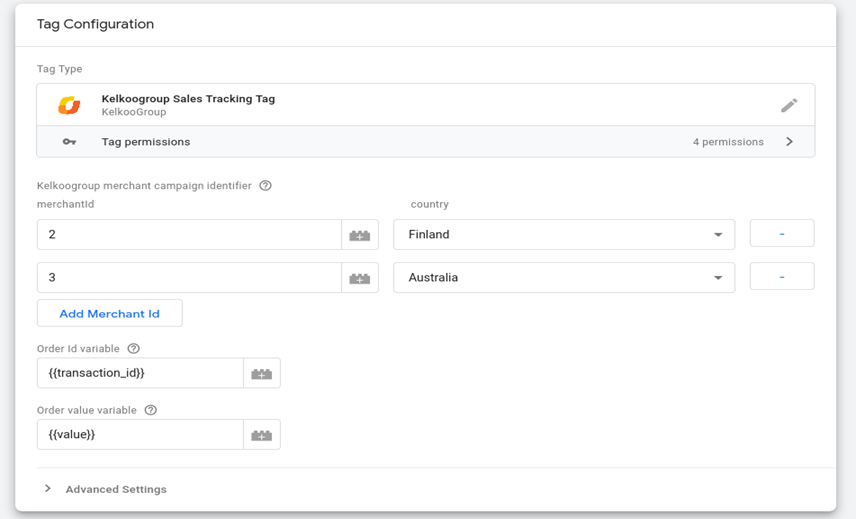
4.4. Configure your tag with provided country, merchantId, and with the GTM variables for the transaction identifier and the transaction value
!! Use the "lego" button to be sure to choose existing variables created in step 2.4 – 2.5 !!
-
4.5. Select the custom event we created in step 3 as a trigger for the tag

-
4.6. Save the tag
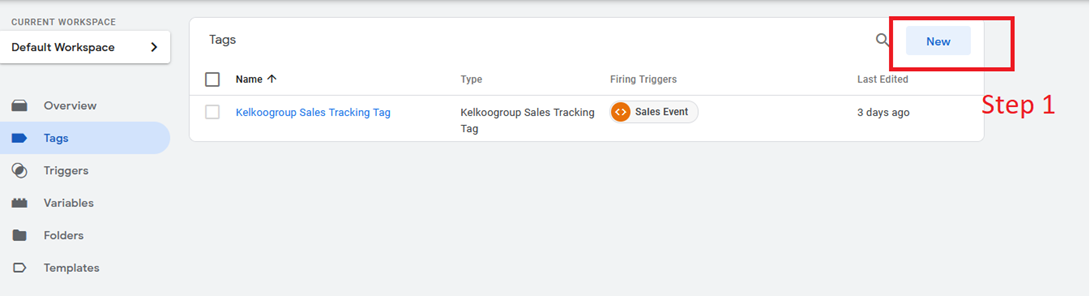
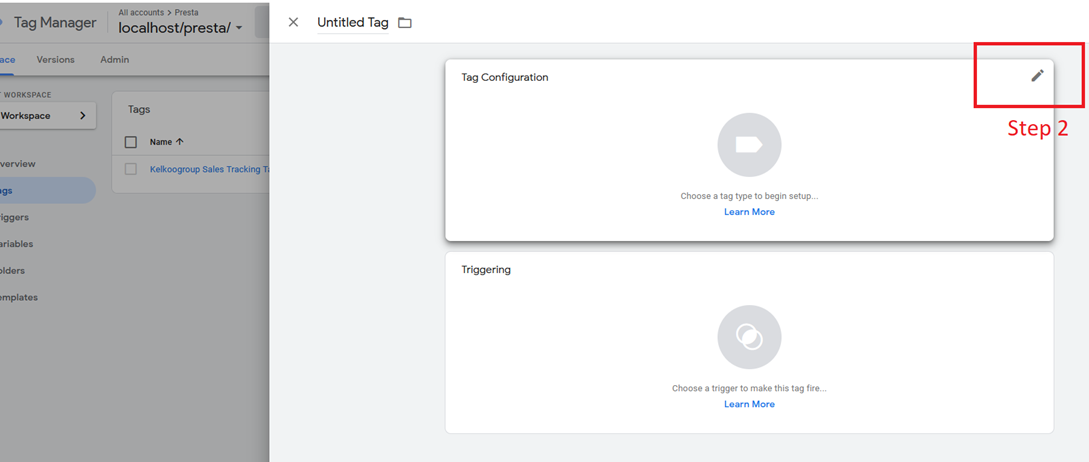
Step 5: Kelkoo Lead Tag
-
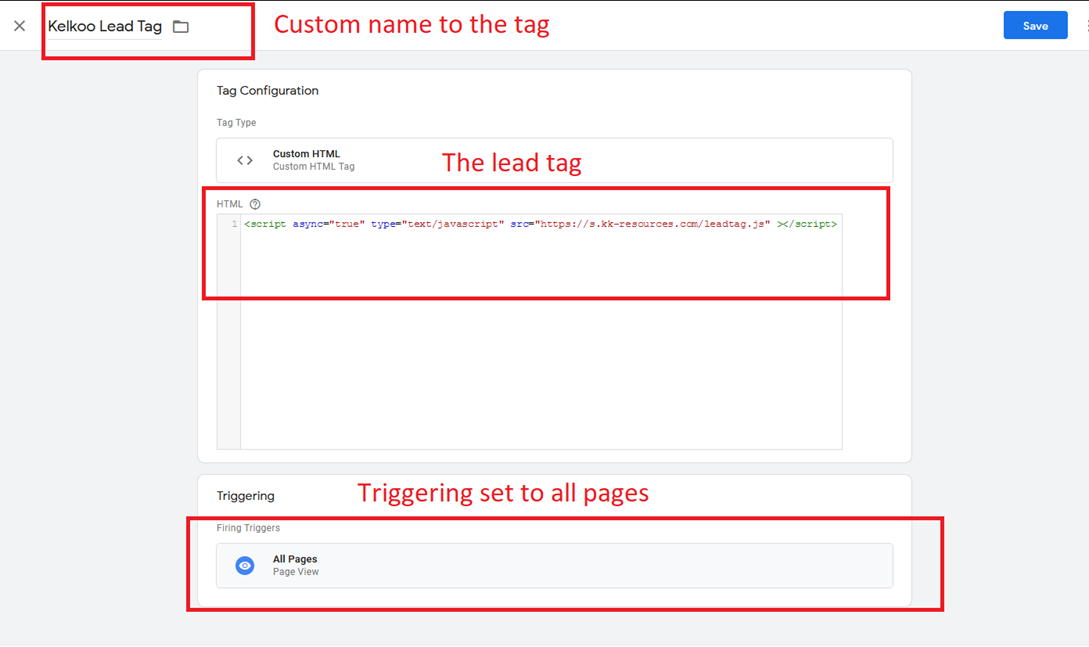
5.1. Create a custom html from "tags" menu with trigger set to "all pages" (as shown in pictures below):
-
The lead tag:
<script async="true" type="text/javascript" src="https://s.kk-resources.com/leadtag.js" ></script>
-
-
5.2 Save the tag and publish all the changes for Kelkoo Sales Tracking to conclude Kelkoo Sales Tracking installation.
Test your setup
Please check Test Installation
If you face issues
Please check Common Issues with GTM before contacting the support.