
Before setting up your Kelkoo Sales Tracking Tag
Get your merchantId and associated Country Code
See How To get your merchantId and associated Country Code
Clean any old version of Kelkoo Sales Tracking
-
In your code, remove any Kelkoo Sales tracking tag (search for leadtag.js and _kkstrack)
-
On your website backend, uninstall any Kelkoo Sales Tracking plugin you might have installed
Install Kelkoo Sales Tracking from Unas dashboard
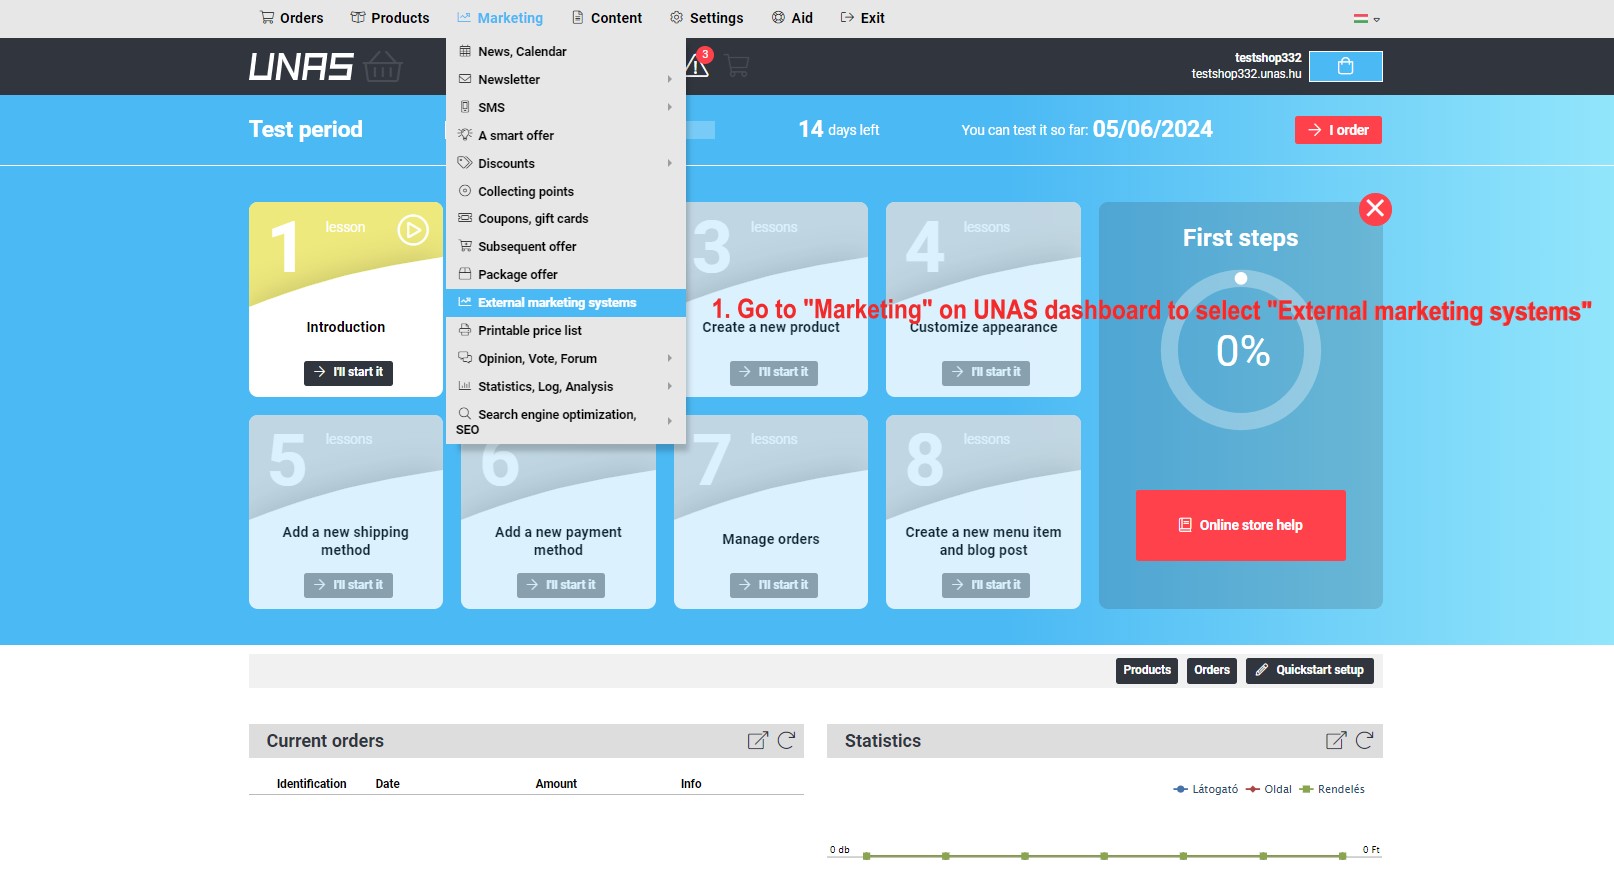
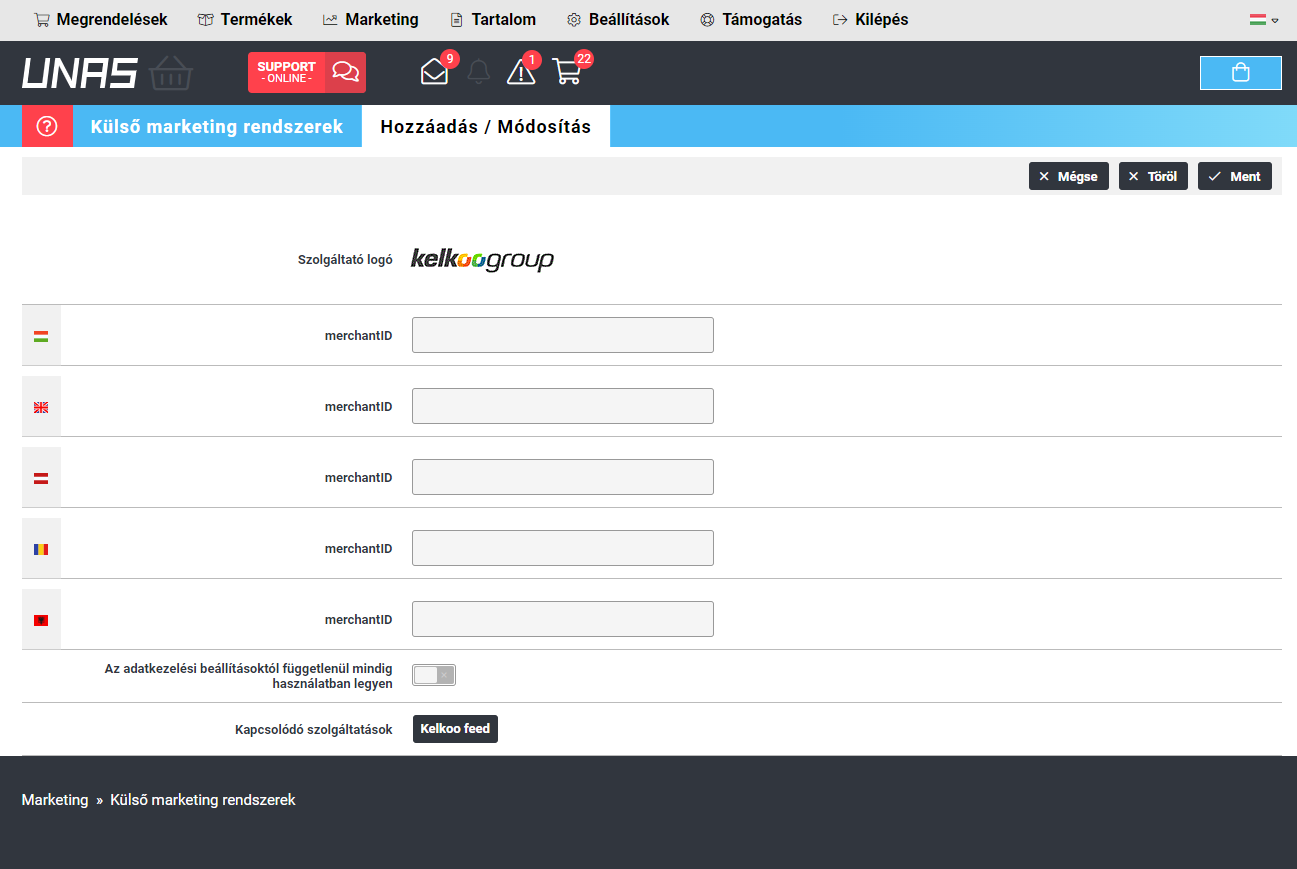
Step 1: Log in to your Unas dashboard, navigate to the External marketing systems through Marketing tab
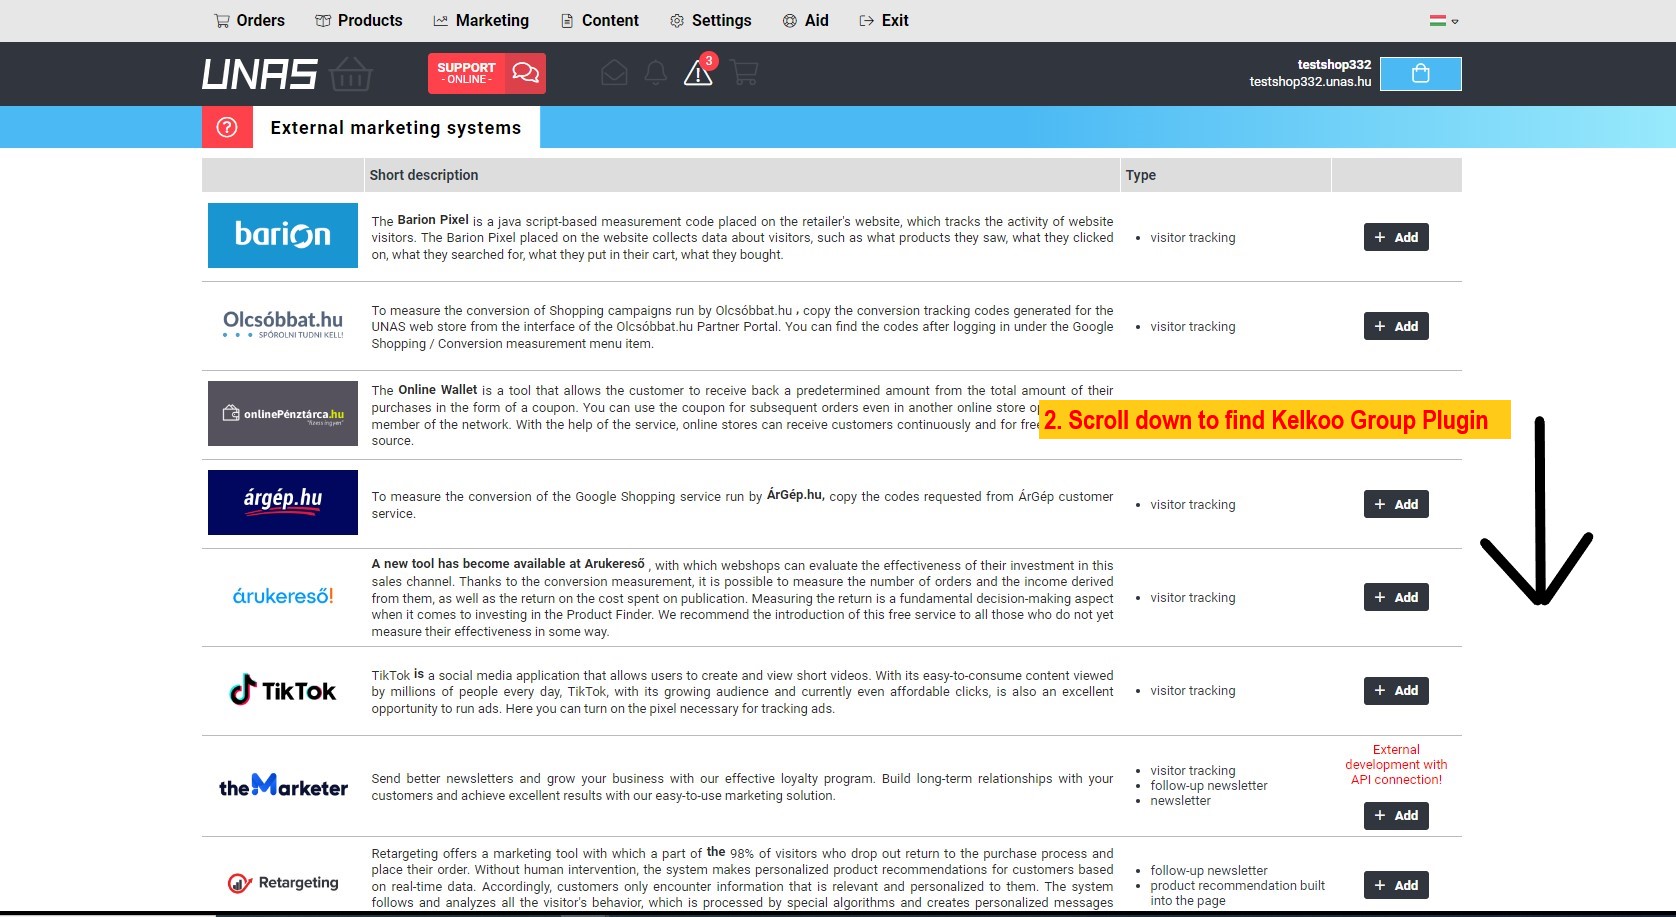
Step 2: Scroll down to find Kelkoo Group logo.
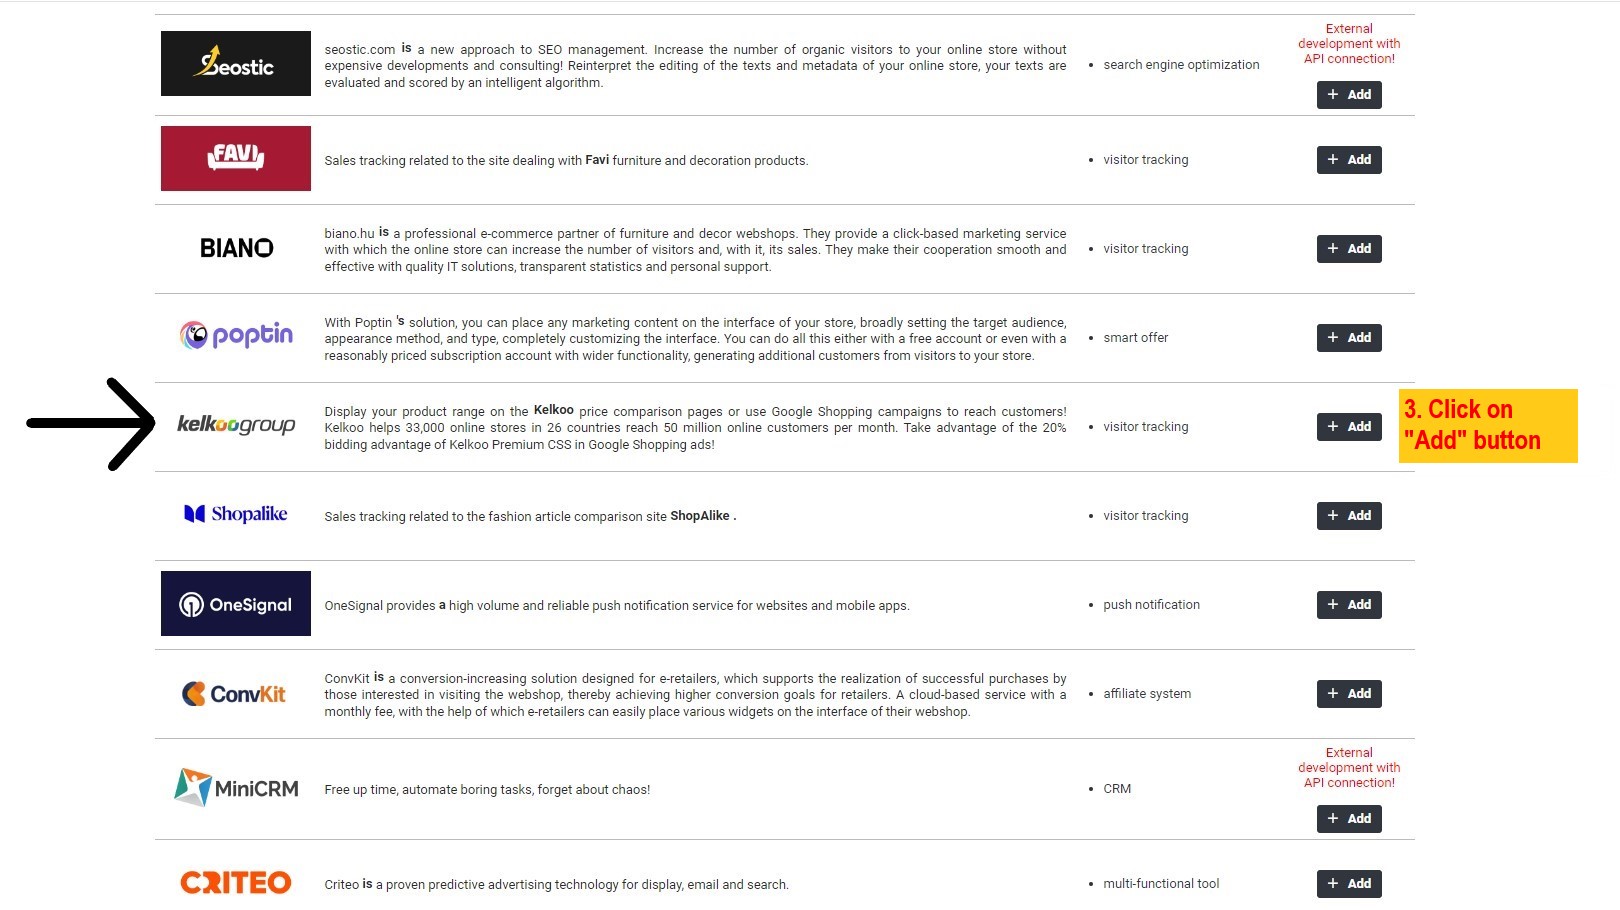
Step 3: Click on Add button.
Step 4: Activate it by entering your merchantID and Save changes.

-
merchantID: This is the unique ID representing your shop within the Kelkoo Group system.
-
Check How To get your merchantId and associated Country Code.
-
If you have multiple MerchantId please see below
-
-
Country here depends on the languages you add on Settings/Texts,Languages/Setting languages. Check Full list of Kelkoo Group country codes
If you have multiple merchantIds and countries
If you have several Kelkoo Group campaigns running for the same website (multiple MerchantId), you can setup all campaigns in the Kelkoo Group Sales tracking - multiple campaign.
In order to setup a Multi Merchant Campaign, the web shop needs to have multiple languages set in the admin interface as shown.
Step 1: In your Unas dashboard, navigate to the Setting languages through Settings/Texts,Languages/
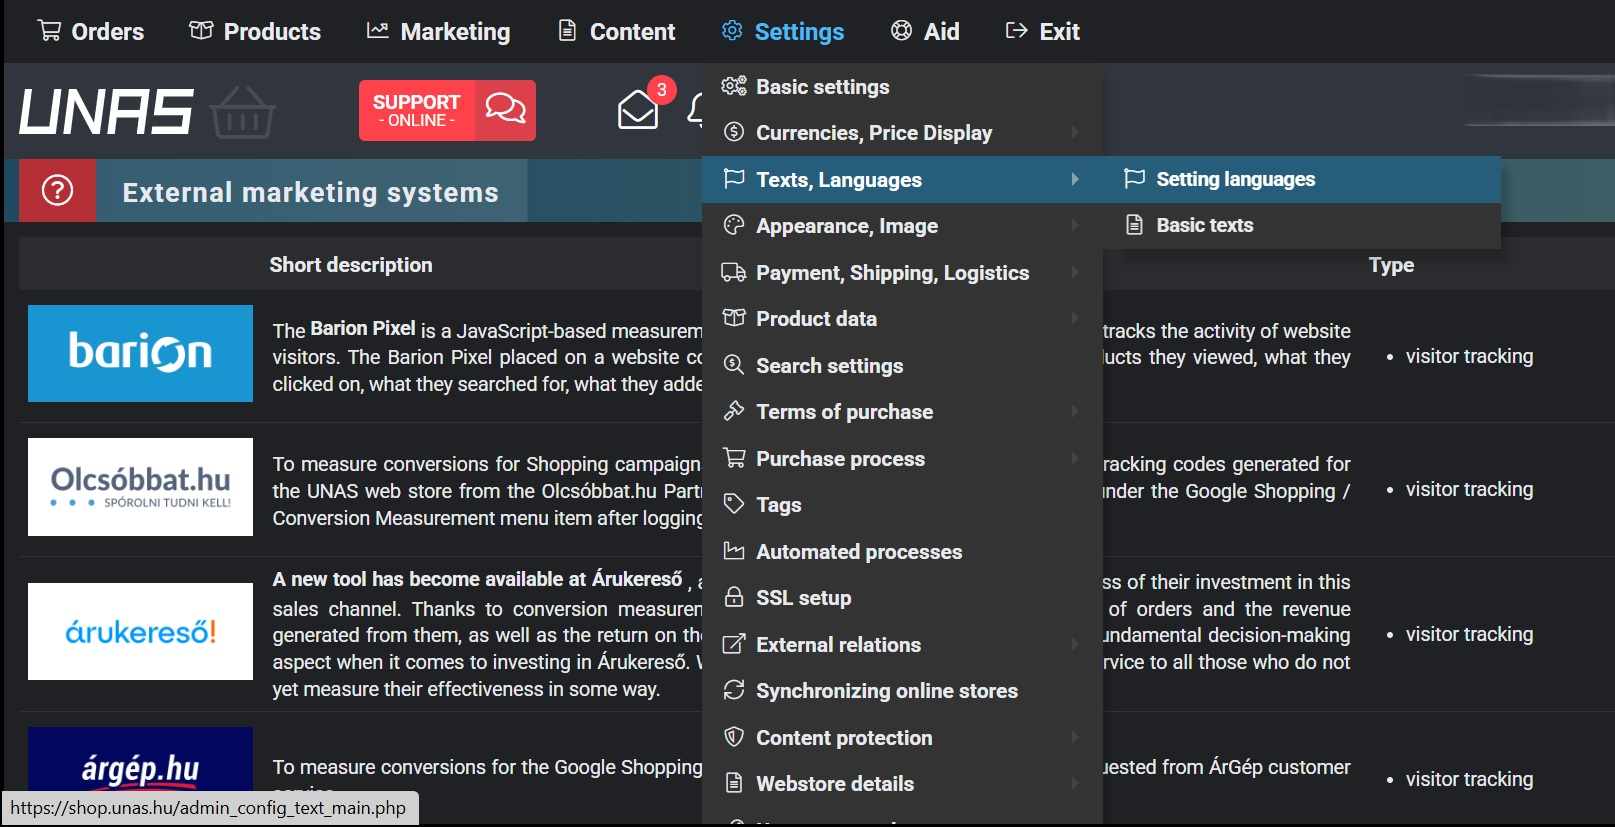
Step 2: Add required language/country.
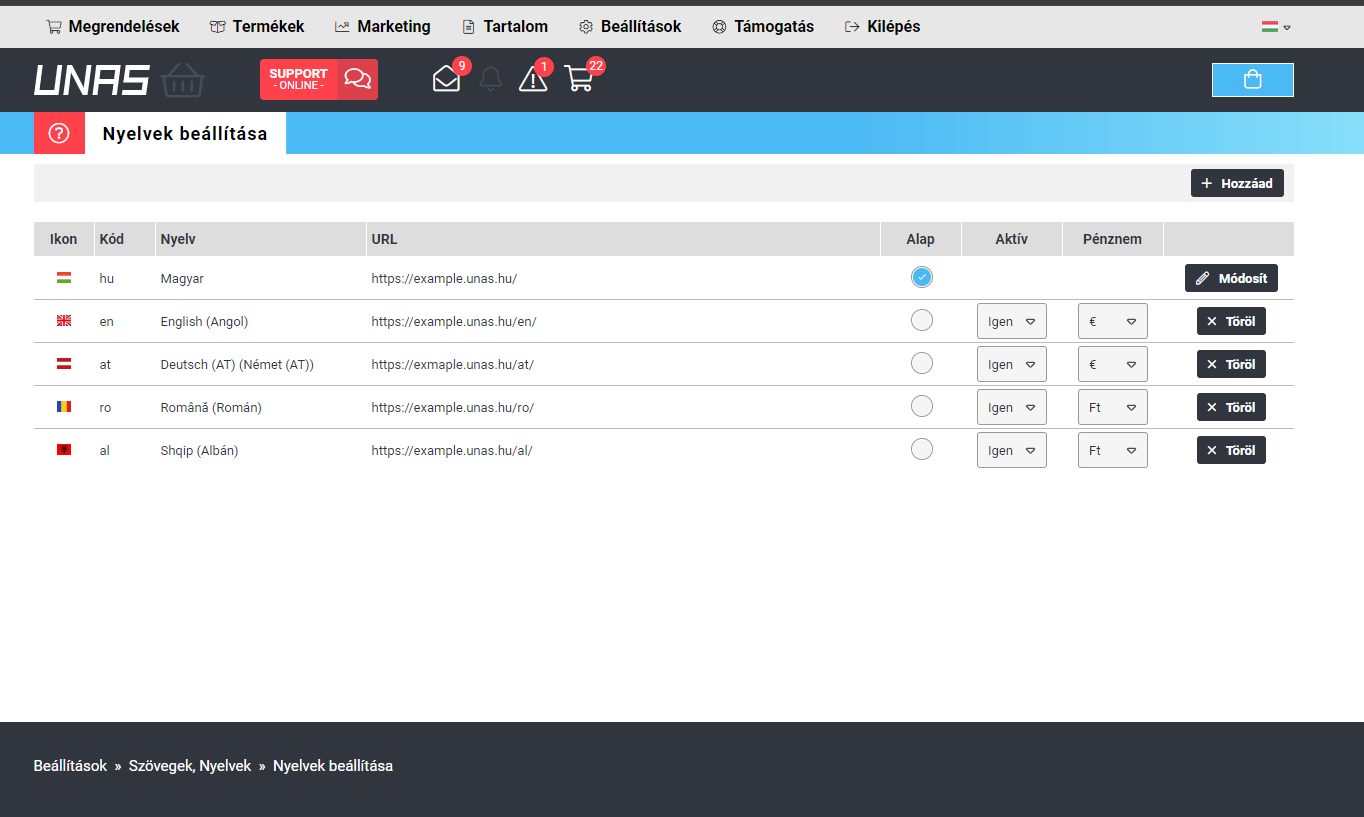
Step 3: Add merchantID provided for specific countries and Save changes
Test your setup
Please check Test Installation