
Before setting up your Kelkoo Sales Tracking Tag
Get your merchantId and associated Country Code
See How To get your merchantId and associated Country Code
Video Tutorial
The merchant can follow our Video Tutorial to install Kelkoo sales tracking for Shopify. Please refer to the link : How to install KST for Shopify
Install Kelkoo Sales Tracking module
Implement lead tag
-
Log in to your Shopify account.
-
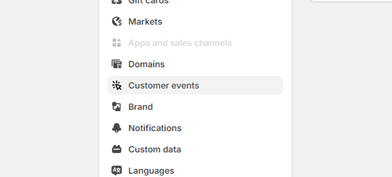
Navigate to and click on Settings.
-
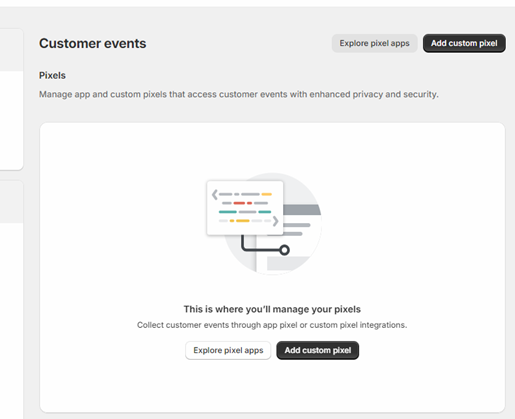
Select Customer Events from the sub-menu.
-
Click on Add Custom Pixel.
-
Set the name of Pixel as Kelkoo Leadtag.
-
Edit the following lines of code:
Leadtag Script
(function() {
    var leadTag = document.createElement('script');
    leadTag.src = 'https://s.kk-resources.com/leadtag.js';
    leadTag.async = true;
    document.head.appendChild(leadTag);
})();
-
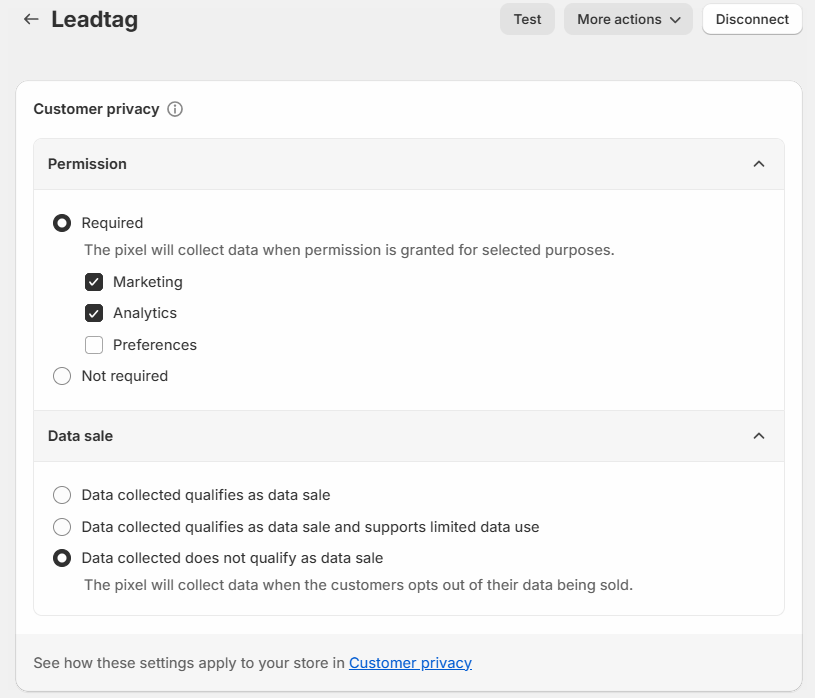
Click on Customer Privacy:
-
Set Permission to Required Marketing / Analytics
-
Set Data Sale to Data Collected does not qualify as data sale
-
-
Scroll to the bottom of the page and select Connect.
Implement conversion tag
Follow similar steps to create Pixel
-
Set the name of Pixel as Kelkoo Conversion.
-
See How To get your merchantId and associated Country Code to get those two pieces of information.
-
Edit the following lines of code:
analytics.subscribe("checkout_completed", event => {
  console.log(event.data.checkout);
  var basketFull = [] ;
  var basketContent ;
  for(i = 0 ; i < event.data.checkout.lineItems.length ; i++) {
    basketContent = {} ;
    basketContent.productname = event.data.checkout.lineItems[i].title ;
    basketContent.productid = event.data.checkout.lineItems[i].id ;
    basketContent.quantity = event.data.checkout.lineItems[i].quantity ;
    basketContent.price = event.data.checkout.lineItems[i].variant.price ;
    basketFull.push(basketContent) ;
  }
  _kkstrack = {
    merchantInfo : [
          {
              country:'ADD YOUR COUNTRY CODE HERE',
              merchantId:'ADD YOUR MERCHANT ID HERE'
          }
      ],
    orderValue: event.data.checkout.totalPrice.amount,
    orderId: event.data.checkout.order.id,
    basket: basketFull
  };
  (function() {
    var s = document.createElement('script');
    s.type = 'text/javascript';
    s.async = true;
    s.src = 'https://s.kk-resources.com/ks.js';
    var x = document.getElementsByTagName('script')[0];
    x.parentNode.insertBefore(s, x);
  })();
});
-
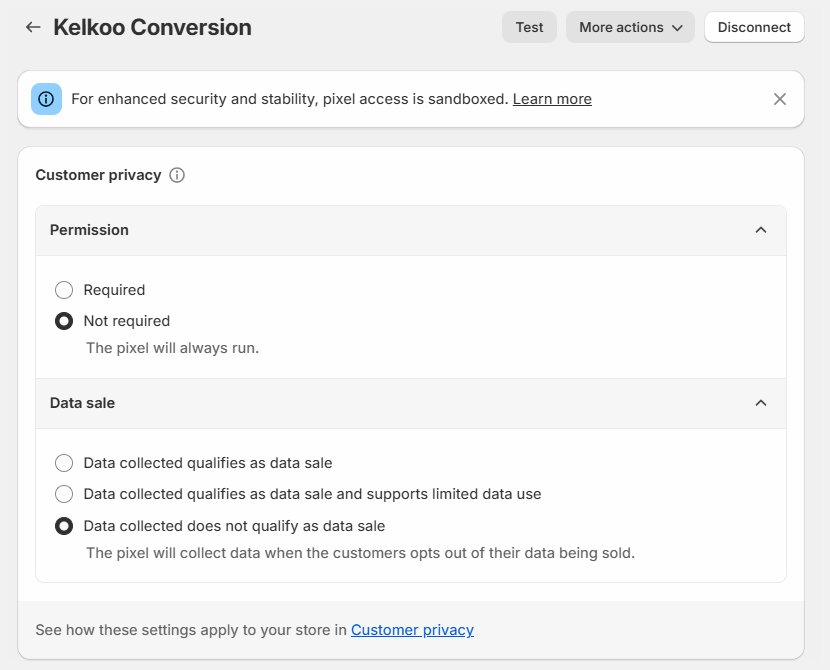
Click on Customer Privacy:
-
Set Permission to Not Required
-
Set Data Sale to Data Collected does not qualify as data sale
-
-
Scroll to the bottom of the page and select Connect.
If you have multiple merchantIds and countries
If you have multiple Kelkoo Group campaigns running for the same website (multiple MerchantId), you can setup all campaigns within the same tag.
You just need to have the following structure for the merchantInfo variable:
merchantInfo : [
  {
    country:'fr',
    merchantId:'123456'
  },
  {
    country:'uk',
    merchantId:'56789'
  }
]
Test your integration
Please check Test Integration